
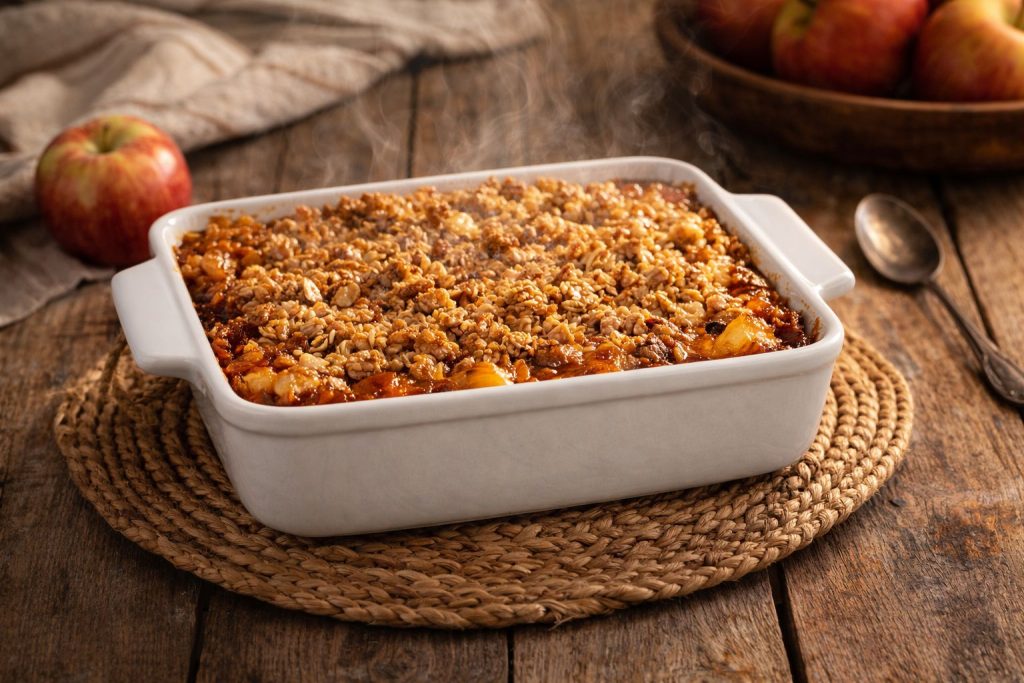
There’s something magical about a warm fruit crisp bubbling away in the oven. The sweet scent of cinnamon drifting through the kitchen. The promise of a golden, buttery crunch waiting under that soft, jammy fruit. For me, apple crisp topping isn’t just a recipe—it’s a lifesaver.
With a lot of family gatherings to attend now that we have returned to Washington and live near family I have learned to treasure anything that saves time without sacrificing comfort. Some days, dessert feels like an impossible luxury. But when I have a jar of crisp topping waiting in the cupboard and a quart of home canned apple pie filling on the shelf, a “last-minute dessert” suddenly feels easy.
And honestly? That’s the kind of kitchen magic I live for.
This apple crisp topping mix has been one of my favorite make-ahead tricks for years. It transforms simple fruit into something that feels warm, nostalgic, and lovingly planned—even when it’s pulled together in under an hour.
Let me show you exactly how to make it, store it, and use it to create a dessert your family will ask for again and again.
Why You’ll Love This Crisp Topping
Before we dive into the recipe, here’s why this mix deserves a permanent place in your pantry:
- ✅ Make-ahead convenience – Store it for up to 3 months.
- ✅ Versatile – Works with apples, peaches, cherries, berries, and more.
- ✅ Perfect texture – Buttery, crumbly, and crisp every time.
- ✅ Great for gifting – Pair with canned fruit for a thoughtful homemade present.
- ✅ Budget-friendly – Simple pantry ingredients.
Whether you’re hosting guests or just trying to make a weeknight dinner feel special, this topping delivers.
The Story Behind My Love of Crisps
I’ve loved crisp desserts since I was little. It didn’t matter what fruit was tucked underneath that golden topping. Apple, blackberry, strawberry-rhubarb, peach, cherry, and especially huckleberry—if it baked up warm and bubbly with that crumbly topping on top, I was in.
There’s something beautifully simple about a crisp. No pie crust to roll. No complicated steps. Just fruit and topping. That’s it.
The fruit softens and becomes syrupy. The sugars caramelize. The oats toast. The butter melts into everything, creating those irresistible golden crumbles.
And when you scoop it into a bowl? You get soft fruit, crunchy topping, and warm cinnamon in every bite. Plus, I love to eat it with ice cream.
That contrast is what makes crisp desserts so special.
Ingredients
For the Dry Mix (Jar Storage):
- 1 cup rolled oats
- 1/2 cup all-purpose flour
- 1/2 teaspoon salt
- 1/2 teaspoon cinnamon
- 1/3 cup granulated sugar
- 2/3 cup brown sugar
For Baking Day:
- 1 quart canned pie filling (or 4 cups fresh or frozen fruit)
- 1/2 cup melted butter
How to Make the Crisp Topping Mix
One of the best parts of this recipe is how incredibly simple it is.
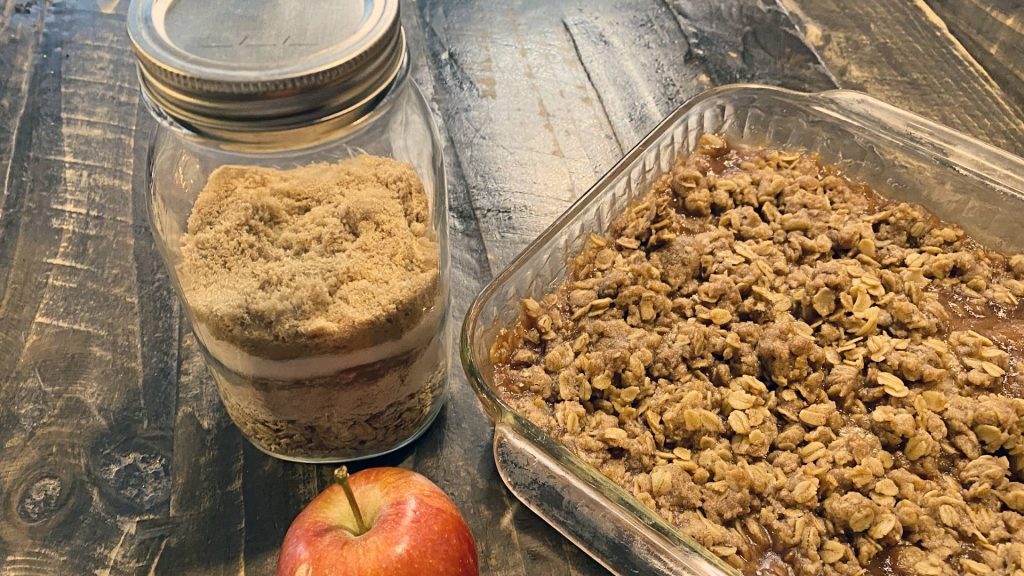
Step 1: Layer the Dry Ingredients
In a clean quart-sized mason jar, layer the following ingredients:
- Rolled oats
- Flour
- Salt
- Cinnamon
- Granulated sugar
- Brown sugar
You can layer them beautifully for gifting or simply combine and shake to mix—either works perfectly.
Step 2: Seal and Store
Seal the jar tightly and store it in your cupboard for up to 3 months.
That’s it.
Now you have a ready-to-go crisp topping mix waiting for you whenever dessert is needed.
How to Turn the Mix into a Crisp Topping
This is where the real magic happens.
Step 1: Preheat the Oven
Preheat your oven to 350°F (175°C).
Step 2: Prepare the Fruit Base
In a 9×9-inch baking dish, spread:
- 1 quart canned pie filling
OR - 4 cups fresh or frozen fruit (add 1–2 tablespoons sugar if needed)
If using fresh apples, toss them with a little cinnamon and sugar before layering.
Step 3: Add the Butter
Pour the contents of your mason jar into a mixing bowl.
Add:
- 1/2 cup melted butter
Stir until the mixture becomes crumbly and well-coated. It should hold together slightly when pressed but still look loose and textured.
Step 4: Top the Fruit
Sprinkle the crisp topping evenly over the fruit layer. Don’t pack it down—keep it loose so it crisps up beautifully.
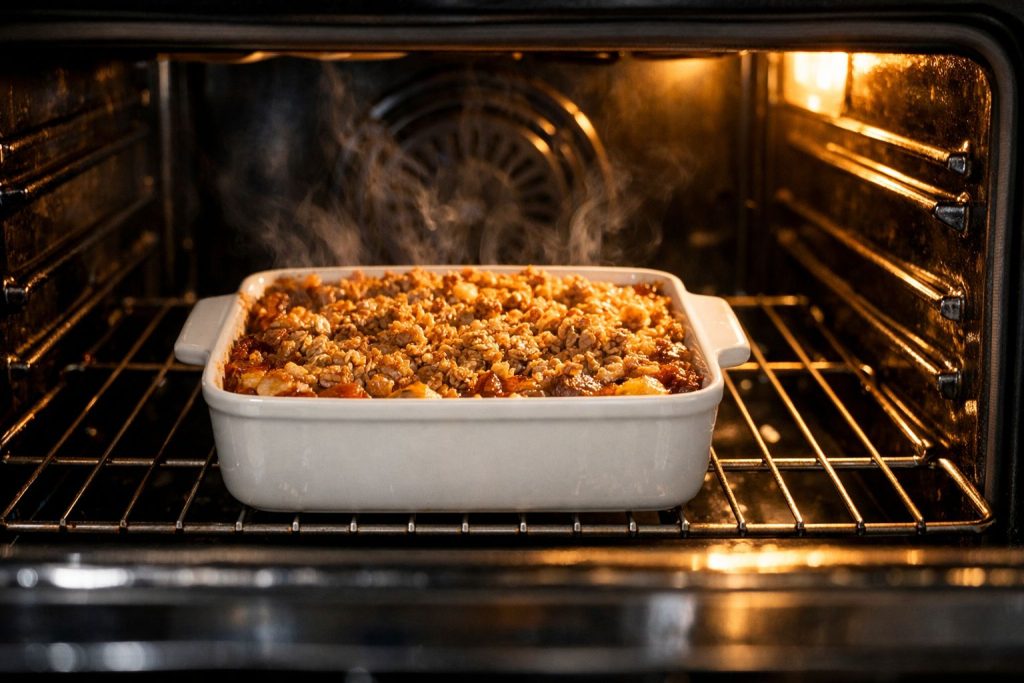
Step 5: Bake
Bake for 30–45 minutes, or until:
- The fruit is bubbly around the edges
- The topping is golden brown
Let it cool for 10–15 minutes before serving.
The Secret to the Perfect Crisp Topping Texture
If you’ve ever had a soggy topping, here’s how to avoid it:
- Use rolled oats, not instant oats.
- Don’t overmix once you add butter.
- Spread the topping evenly.
- Bake until the fruit is actively bubbling.
That bubbling fruit ensures the crisp is fully cooked underneath.
Fruit Variations to Try
While apple crisp topping is a classic, don’t stop there. This mix works beautifully with:
- 🍎 Apples (Granny Smith for tartness)
- 🍑 Peaches
- 🍒 Cherry pie filling
- 🫐 Blackberry
- 🍓 Strawberry-rhubarb
- 🍐 Pear
- 🥭 Mango (for a twist!)
Really, if it can go in a pie, it can go in a crisp.
Make the Crisp Topping On Your Own
Want to customize your apple crisp topping? Try these ideas:
- Add 1/4 cup chopped pecans or walnuts.
- Swap cinnamon for apple pie spice.
- Add a pinch of nutmeg.
- Use half white whole wheat flour for a heartier texture.
- Add a tablespoon of maple syrup to the butter for richness.
Why This Crisp Topping Makes the Perfect Gift
Homemade mixes in a jar are one of my favorite kitchen gifts.
Tie a ribbon around the jar. Add a handwritten baking tag with instructions. Pair it with a quart of canned fruit.
Suddenly, you’ve created a thoughtful, practical gift that feels warm and homemade.
It’s perfect for:
- New neighbors
- Holiday baskets
- Teacher gifts
- Busy moms
- College students
And it’s something they’ll actually use.
Serving Suggestions
In my house, crisp rarely stands alone.
We love it topped with:
- Vanilla ice cream
- Fresh whipped cream
- A drizzle of caramel sauce
But truthfully? It’s just as good straight from the pan with a spoon.
Sometimes the simplest desserts are the most comforting.
Storage & Leftovers
If you somehow have leftovers:
- Cover and refrigerate for up to 4 days.
- Reheat in the microwave for 30–60 seconds.
- Or warm in the oven at 300°F until heated through.
The topping may soften slightly in the fridge, but it still tastes wonderful.
Frequently Asked Questions
Can I freeze the dry crisp topping mix?
Yes! Store it in a freezer-safe jar or bag for up to 6 months.
Can I double the crisp topping recipe?
Absolutely. Make two jars at once—you’ll thank yourself later.
Can I use fresh apples instead of pie filling?
Yes! Use 4 cups sliced apples tossed with:
- 1/4 cup sugar
- 1 tablespoon flour
- 1 teaspoon cinnamon
Can I make this gluten-free?
Yes. Substitute the flour with a 1:1 gluten-free flour blend and ensure your oats are certified gluten-free.
Final Thoughts: A Pantry Staple Worth Keeping
There’s something deeply satisfying about opening your cupboard and knowing dessert is only minutes away.
This apple crisp topping mix isn’t fancy. It doesn’t require special ingredients. But it transforms ordinary fruit into something warm, nostalgic, and comforting.
It turns a busy Tuesday night into a memory.
It turns canned fruit into a bakery-worthy dessert.
It turns “I don’t have time” into “Of course I planned dessert.”
And honestly, that’s the kind of recipe every kitchen needs.
Once you make this and tuck a jar into your cupboard, you’ll wonder how you ever lived without it.
So go ahead—layer the oats, the flour, the sugars. Seal it up. And give your future self the gift of an easy, irresistible apple crisp topping waiting patiently on the shelf.
Crisp-Topping-Recipe-Card